
Order Custom Event Banners: A Pro Planner's Guide
TL;DR:
- Choosing the right materials and preparing print-ready files ensure professional-looking custom event banners that withstand diverse environments. Proper planning, early artwork submission, and understanding the ordering process help avoid costly delays and errors. Modular systems and advanced displays offer reusable solutions that enhance branding impact at recurring trade shows and events.
Custom event banners are large-format printed displays used to identify, promote, and brand a business at conferences, trade shows, and public events. When you order custom event banners, the decisions you make about material, size, and design file format directly determine whether your signage looks professional or gets lost in a crowded exhibit hall. This guide covers material comparisons, artwork specifications, the ordering process, delivery coordination, and advanced modular signage options. Every section is written for event planners and marketing professionals who need reliable results on tight timelines.
What materials and finishes are best for custom event banners?
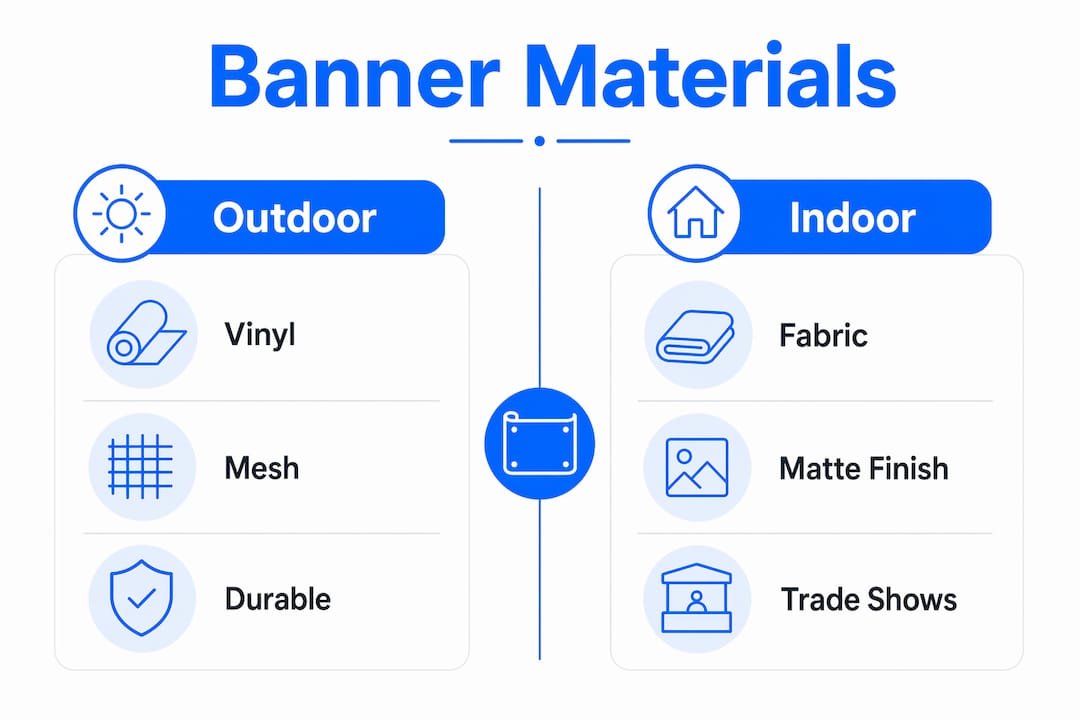
The three most common materials for custom event signage are vinyl, mesh, and fabric. Each serves a different purpose, and choosing the wrong one for your event conditions is one of the most common and costly mistakes planners make.
Vinyl banners use 13–16 oz PVC flex as the industry standard weight range. Heavier vinyl holds up better outdoors and resists tearing under wind stress. UV-resistant lamination adds another layer of protection for multi-day outdoor events. Vinyl is the most affordable option and works well for temporary outdoor signage at festivals, trade shows, and corporate activations.
Mesh banners are perforated vinyl panels that allow wind to pass through. This makes them the correct choice for large outdoor banners mounted on fencing or building facades where wind load is a real concern. The perforations reduce print density slightly, so mesh works best for bold graphics and large text rather than fine-detail photography.
Fabric banners use polyester or knit fabric substrates and are the preferred choice for indoor trade show environments. They are lightweight, wrinkle-resistant, and produce vibrant color output. Fabric is also the material of choice for tension fabric displays and backdrops where a polished, premium appearance is required.
Matte 510gsm PVC reduces glare and is suitable for both indoor and outdoor event banners, making it a reliable default for mixed-use signage. Gloss finishes produce richer colors but create reflective glare under direct lighting, which is a problem in convention centers with overhead fluorescent or LED fixtures.
| Material | Best use | Durability | Relative cost |
|---|---|---|---|
| Vinyl (13–16 oz) | Outdoor events, trade shows | High | Low |
| Mesh | Outdoor fencing, facades | High (wind-rated) | Low to medium |
| Fabric (polyester) | Indoor displays, backdrops | Medium | Medium to high |
| Matte PVC (510gsm) | Mixed indoor/outdoor | High | Medium |
Pro Tip: For convention center events with overhead lighting, always request a matte finish. Gloss banners photograph poorly under fluorescent lights, which matters when event photos are used for post-event marketing.
How to prepare your artwork and design files for custom banners
Artwork quality is the single most controllable factor in banner print quality. Submitting the wrong file format or resolution is the fastest way to delay your order and receive a blurry final product.
The minimum resolution for print-ready banner artwork is 150 DPI at actual print size. A file that looks sharp on screen at 72 DPI will print with visible pixelation at banner scale. For very large formats, 100 DPI at actual size is sometimes acceptable, but 150 DPI is the safe standard.
Key file preparation requirements:
- File format: Submit vector files in PDF, EPS, or AI format. Vector-based logos scale to any size without quality loss. Raster files like JPEG or PNG are acceptable only when supplied at the correct resolution.
- Color mode: Set all files to CMYK color mode before submission. RGB files are optimized for screens and will shift in color when converted for print. Blues often become purple, and vibrant greens can dull significantly.
- Bleed and safe zones: Keep text and logos 2–3 inches from edges to prevent loss during hemming, grommet placement, or pole pocket finishing. Elements placed too close to the edge will be obscured or cut off.
- Panel proofs for large formats: Banners over 10 feet wide are often printed in panels. Always request a layout proof to confirm that text and logos align correctly across seam lines.
- Logo quality: Supply your logo as a vector file separately from the main design file. Print providers can then scale it independently without degrading the surrounding artwork.
Most print shops offer design assistance at no cost or low cost, and they strongly recommend submitting vector artwork early in the process. Late submissions are the leading cause of production delays for event orders.
Pro Tip: Submit your artwork at least five business days before your event date. Early artwork approval gives the print provider time to flag issues, run a proof, and still meet your deadline without paying for express production.
What is the step-by-step process to order custom event banners online?
Ordering personalized event banners online follows a predictable sequence. Understanding each step in advance prevents the last-minute scrambles that result in rushed proofs and avoidable errors.
- Select banner size and shape. Measure your event space before choosing dimensions. Standard trade show banner sizes include 2x6 ft, 3x6 ft, and 4x8 ft. For outdoor events, 4x8 ft and 6x12 ft are common. Non-standard sizes are available from most providers, including Printdrill.
- Choose material and finish. Use the material comparison above to match your choice to your event environment. Confirm whether you need grommets, pole pockets, or hemmed edges for your installation method.
- Upload artwork or request design assistance. Upload your print-ready file directly through the online ordering platform. If you do not have a finished design, request design support before placing the order.
- Review and approve the digital proof. Never skip this step. The proof confirms color, layout, bleed, and text placement. Approve only when every element is correct.
- Select production speed and shipping method. Express printing services can finalize artwork in as little as 30 minutes with next-day or same-day shipping options. Standard production typically runs two to five business days.
- Manage bulk orders. If you are ordering multiple designs for a single event, confirm that all files are submitted together and that each design is labeled clearly to avoid fulfillment errors.
| Order type | Production time | Shipping options | Best for |
|---|---|---|---|
| Standard | 2–5 business days | Ground, 2-day | Planned events with lead time |
| Rush | 1–2 business days | 2-day, overnight | Short-notice events |
| Express | Same day or next day | Overnight, local pickup | Last-minute replacements |
How to handle delivery, installation, and common ordering pitfalls
Receiving your banners on time is only half the job. Installation coordination and avoiding common errors determine whether your custom banners for events actually perform as planned.
Delivery and installation best practices:
- Confirm delivery address and timing. Ship to the venue only if you have confirmed with the site manager that packages will be received and held. Many convention centers charge drayage fees for direct shipments.
- Coordinate with venue staff. Professional firms coordinate closely with site managers for installation timing. Request your installation window in writing at least two weeks before the event.
- Label every banner clearly. For multi-banner orders, label each roll or package with the banner name, size, and installation location. This prevents setup confusion when multiple team members are working simultaneously.
- Inspect on arrival. Open all packages at least 24 hours before installation. Damaged or misprinted banners need time to be reprinted or replaced. Reporting damage the morning of the event leaves no recovery options.
- Avoid incorrect sizing. Measure twice before ordering. A banner that is six inches too wide for its frame or mounting location cannot be used. Confirm hardware dimensions before finalizing banner dimensions.
- Plan for storage and reuse. Fabric and vinyl banners roll cleanly for storage. Use the original tube or a padded banner bag to prevent creasing. Well-stored banners can be reused across multiple events, which reduces per-event cost significantly.
Pro Tip: For touring events or recurring trade shows, order one extra banner per design as a backup. The cost of a spare is far lower than the cost of reprinting on a rush timeline when a banner is damaged during transport.
What advanced banner options and modular signage systems can enhance event impact?
Standard flat banners serve a clear purpose, but event planners managing large trade show booths or recurring corporate events benefit from upgrading to modular and illuminated display systems.
Modular, plug-and-play display systems offer superior reusability and faster setup compared to traditional single-use signage. A tension fabric booth that assembles in under 30 minutes without tools is a practical advantage when setup windows at convention centers are measured in hours, not days.
Key advanced options to consider:
- Tension fabric displays: Stretch fabric graphics over aluminum frames to create wrinkle-free, seamless backdrops. Printdrill’s 10x20 trade show booth kit integrates tension fabric panels with display racks for a complete exhibit setup.
- SEG lightbox displays: Silicone edge graphics (SEG) are backlit fabric panels that create illuminated signage with strong visual presence. Lightboxes draw attention in crowded exhibit halls where standard banners compete for visibility.
- Modular exhibition stands: Systems from providers like A3M modular exhibition stands allow exhibitors to reconfigure booth layouts for different floor plans without ordering new graphics.
- Custom travel cases: Illuminated lightboxes and tension fabric systems with custom travel cases protect hardware between events and make touring setups practical for brands attending multiple shows per year.
- Pole banners: For outdoor events and venue perimeters, custom pole banners provide vertical branding that is visible from a distance and installs quickly on standard street poles or event fencing.
The shift toward modular signage is a direct response to the rising cost of single-use print materials and the increasing frequency of multi-city event programs. Reusable systems pay for themselves after two or three events.
Key takeaways
Ordering custom event banners successfully requires matching material to environment, submitting print-ready artwork at 150 DPI in CMYK, and building enough lead time for proofing and express shipping.
| Point | Details |
|---|---|
| Match material to environment | Use vinyl or mesh outdoors, fabric for indoor trade show displays. |
| Submit artwork correctly | Minimum 150 DPI at actual size, CMYK color mode, vector logos preferred. |
| Use bleed and safe zones | Keep all text and logos 2–3 inches from edges to prevent finishing loss. |
| Build in lead time | Submit artwork five or more business days before the event to avoid rush fees. |
| Consider modular systems | Tension fabric and lightbox displays reduce per-event cost for recurring shows. |
What I’ve learned from ordering event banners at scale
Event planners consistently underestimate how much the material and finish decision affects the final result. I have seen well-designed banners look flat and unprofessional because the planner chose gloss vinyl for a fluorescent-lit convention hall. The design was fine. The material choice was wrong.
The other pattern I see repeatedly is late artwork submission. Planners spend weeks on event logistics and leave banner design to the final week. That decision forces rush production fees, limits your ability to review proofs carefully, and removes any buffer for corrections. Submitting artwork early costs nothing. Submitting it late costs real money and adds stress.
Budget allocation is also worth addressing directly. The instinct to cut costs on signage is understandable, but banners are one of the highest-visibility items at any event. A poorly printed banner at a trade show booth signals the same thing to attendees as a poorly designed website. Fabric banners and tension fabric displays cost more than basic vinyl, but they photograph better, install faster, and last longer. For brands attending three or more events per year, the math favors the upgrade.
Finally, design assistance is underused. Most print providers, including Printdrill, offer complimentary design support. Using it is not a sign of an underprepared team. It is a practical way to catch file errors before they become production problems.
— Printdrill
How Printdrill handles your custom event banner orders
Printdrill offers a full range of custom event signage built for marketing professionals who need reliable quality and fast turnaround. From outdoor-grade mesh banners built for wind-rated installations to lightweight fabric banners designed for trade show backdrops and indoor displays, every product ships nationwide with express options available for tight deadlines.
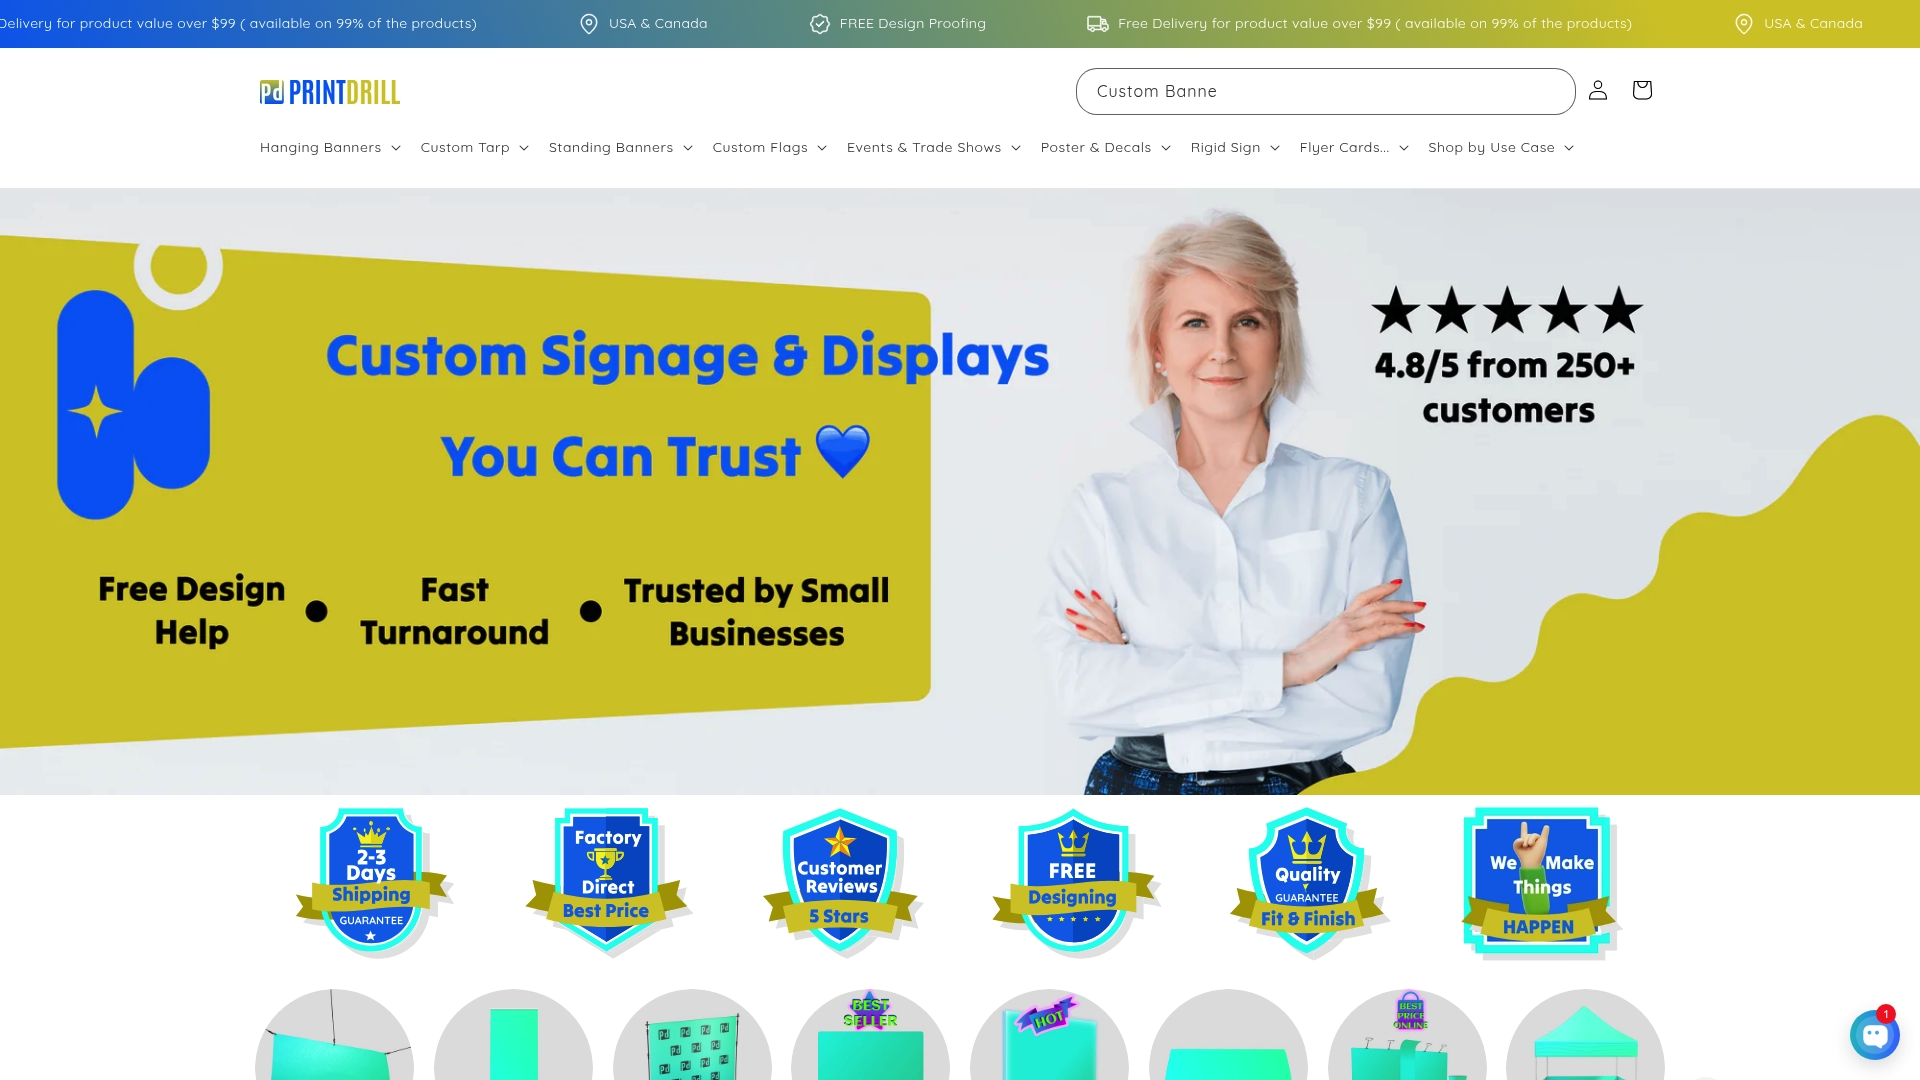
The online ordering platform supports direct artwork uploads, design assistance requests, and digital proof approvals before production begins. For exhibitors managing full booth setups, Printdrill’s 10x10 modular booth kit combines tension fabric graphics with a complete frame system that assembles without tools. Whether you need a single banner or a complete event display package, Printdrill delivers professional results at competitive pricing with nationwide shipping.
FAQ
Q: What file format should I use when ordering custom banners?
A: Submit artwork as a PDF, EPS, or AI vector file for the sharpest output. If using raster files, supply them at a minimum of 150 DPI at the actual print size.
Q: How far in advance should I order event banners?
A: Order at least five business days before your event for standard production. Express and same-day options are available for urgent needs, but early ordering eliminates rush fees and allows time for proof review.
Q: What is the difference between mesh and vinyl banners for outdoor events?
A: Vinyl banners are solid panels suited for standard outdoor mounting. Mesh banners are perforated to allow wind to pass through, making them the correct choice for large outdoor installations on fencing or building facades.
Q: Do I need to include bleed in my banner design file?
A: Yes. Keep all text and logos at least 2–3 inches from the edges of your design file. This prevents key elements from being cut off or obscured during hemming, grommet placement, or pole pocket finishing.
Q: Can I reuse custom event banners at multiple events?
A: Fabric and vinyl banners store well when rolled on a tube and kept in a padded bag. Modular tension fabric systems are specifically designed for repeated setup and teardown across multiple events.
